Bus is the sister plugin of the ever popular Strip, and while the latter can sit happily on every channel of your mix, the best place for the former is – you guessed it – on a bus. Don’t let the relatively simple GUI fool you: Bus is really a powerhouse, which gives you a lot of control about your sound, and can actually do a whole lot more to it than ‘just’ regular compression. In this episode we will use the plugin in what could be described as the ‘supreme discipline’ of compression, namely the mastering process. As you will soon discover, Bus can glue a track together perfectly and thus give it the final touch in terms of dynamics and tone.
Here’s our example track, unprocessed:
On the Bus
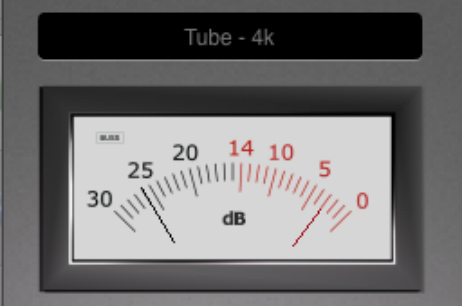
The first thing we do – after opening an instance of Bus on the master bus, of course – is choosing the main compression algorithm via the drop-down menu at the top. We’ve got no less than five options to choose from; each modelling only the finest hardware compressors in the world. We go for the Tube 4k model, which acts very smoothly – perfect for mastering!
We then dial in a touch of harmonic distortion, a.k.a. saturation with the SAT control. Next we lower the threshold (THR) until we see an average gain reduction of about -2dB to -6dB in the VU-meter. Now comes one of the coolest features of Bus, namely the maximum gain-reduction control (MAX-GR). This lets you actually set another kind of threshold, but for the compression itself – whatever the value would be, there would never be more gain reduction than that. This is particularly useful when you want a consistent sound with practically no unpleasant pumping and so forth (although one can surely overdo it with extreme values, though). Long story short, we set this knob to -6dB to make sure that the dynamic structure of our song stays intact.
Keeping the RATIO at moderate settings is always a good idea during mastering, so we set it to 3:1. A rather high ATTACK time ensures that no transients are squashed, and a decent RELEASE time with the optional auto release turned on lets everything sound smooth and transparent.
Finally, we enhance the sides of our track by boosting some of the highs and lows – another awesome functionality of the plugin! As a last step, we turn up the MAKEUP gain to compensate for the loss in volume during the compression process.
The interface of the plugin should now look something like this: 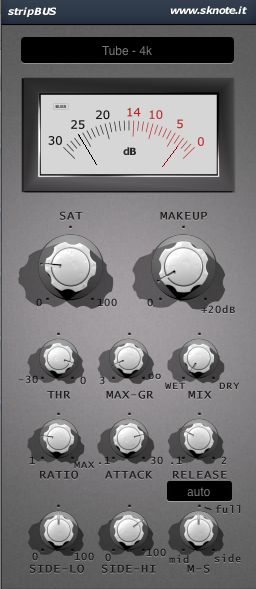
The Result
And here we are, with a song that finally sounds convincing and ‘finished’:
You can download the preset for Bus here: Mastering Bus Preset.FXP