Among compression, equalizing, imaging, and limiting exciting is one of the key factors when polishing a mix in the master stage. By emphasizing (or attenuating) the harmonic content in different frequency ranges one can add that little bit of ‘magic’ that can make a song really shine in the end – well, sound wise, at least 😉
That being said, an exciter is not necessarily something that you would notice immediately while listening to a track. Rather, you would notice it if it wasn’t there – which is often a good sign, because it tells you that the effect has been applied by just the right amount.
In this session, we will take a look at Presence , a dual band exciter with some handy additional features. More precisely, we will use it to master a modern EDM/Moombacore track, giving it the final touch – and here we go!
Pure Excitement
Since we’re going to use Presence as a mastering plugin, be sure your song is already mixed down and peaks at around -5 to -3dB, so that there is enough headroom to work with. Being an exciter, the plugin, then, should be placed in the middle of the mastering chain. In our case, this eventually looks like this:
- EQ
- Compressor
- Exciter (Presence)
- Imager
- Limiter
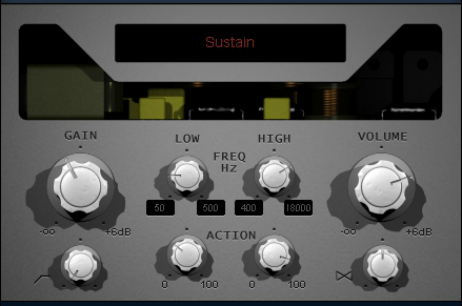
The first thing we have to do is choosing the mode Presence should work in. If you click on the drop-down menu at the top you see three different choices: Replace, Sustain, and Mix. In Replace mode, the audio content that is generated by the plugin is added to the original signal, while simultaneously attenuating the same bands of it. Sustain mode means pretty much the opposite, for the generated content is now ducked by the source signal. Mix, finally, blends the new content with the original audio – this is what we go for.
Next we turn up the GAIN knob just a little bit to drive the dry signal into the exciter circuit. A High Pass filter at 20Hz (adjustable via the knob in the lower left corner of the interface) removes any low end rumble. The problem with those ultra-low frequencies is that they aren’t audible anyway, but still add up to the overall volume of an audio signal. As an effect, a limiter would, for instance, begin to work earlier than it should and in the end would also distort earlier – which is obviously not what we want.
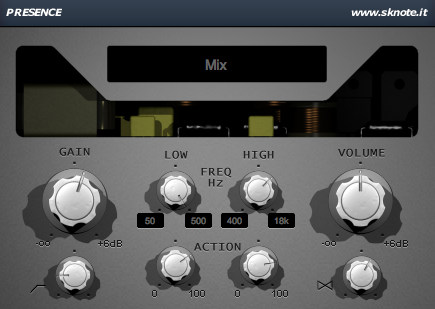
In the center of the plugin is the essence of Presence: two exciter stages, both with adjustable frequency ranges and overall strength. Because our example track is a bass-heavy, modern production we don’t want to mess with the lower end of the spectrum; hence choose a LOW FREQ of 500Hz. With the left ACTION knob set at around two o’clock we will get a nice effect without overdoing it. For the HIGH FREQ we set the knob to two o’clock as well, which means around 12kHz. In addition, we allow us to dial in some more ACTION (three o’clock or 75%) than before, which will give the signal a sweet crispness.
The last step concerns the Tilt-EQ just below the VOLUME knob. Since the source signal sounds a little bit too harsh in the top end we use the EQ to attenuate the highs, while also slightly boosting the lows. The VOLUME control can stay in its default position, because the limiter will take care of the overall level (that’s one reason why having a decent amount of headroom is important).
The interface of the plugin should now look something like this:
The Result
So, here are the two final versions of our track – one with Presence engaged and one without it (the rest of the processing is the same in both cases).
Here’s the dry version:
And here’s the (*cough*) ‘exciting’ one:
First impressions might be similar. However, one can surely tell that the affected version has somewhat more body and weight; it just sounds ‘finished’ as opposed to the other one. That’s one great thing of Presence: It actually doesn’t alter your (precious) mix too much, but retains all of its characteristics, only adding that little ‘extra’ that wasn’t there before!
You can download the preset for Presence here: EDM Moombahcore Excitement Presence Preset.FXP