If you’re looking for a mastering grade compressor the SDC might be your ideal choice: Not only does it offer a powerful combination of one optical and one VCA compressor, it also provides three different transformer models to color your song (if you’re looking for that little “extra”), plus an (optional) M/S-mode for even more control over the source signal.
In this tutorial, we will use SDC to master a modern electronic, progressive house-ish track. Let’s listen to the unprocessed example first:
You may think that it already sounds good as it is, but you may also want to change your mind again after we set up our compressor!
First, we insert SDC on the master track, followed only by a limiter. Since the arrangement of our sample song is pretty straightforward, we will stay in normal (STEREO) mode, which is indicated by the left LED right in the center of the plugin. This also means that we only have to take care of the controls on the left for the ones on the right are inactive. Generally, you should always choose the loudest section of the track when you’re mastering (which is often the chorus, just as in our example). Also, make sure that the signal peaks at between -6dB and -3dB to preserve enough headroom (in our case the peaks are around -3dB for instance).
The Optical compressor
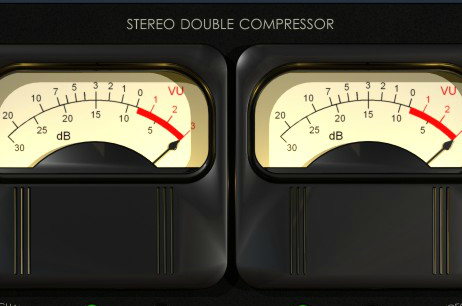
The first part of the signal path is the optical compressor unit at the top left of the interface. We start by flipping from OLD to MODERN. This mode is the fastest of the three, which is important for our modern electronic song – it will let the compression sound livelier and not all too static. Next, we turn down the OPTICAL THRESHOLD until we get an average gain reduction of 5dB (displayed on the left VU meter). The great thing about Opto compressors is that they work rather gently. Therefore we can easily even out the signal without sacrificing too many dynamics. Finally, we turn up the OPTICAL GAIN to make up for the loss in volume.
The VCA compressor
Let’s move on to the VCA or Discrete compressor unit. We need to turn it on at first with the toggle switch below the left VU-meter in order for it to become actually active. Afterwards we set DISCRETE ATTACK and DISCRETE RELEASE to 4 and 5, respectively. By choosing these fairly high values, we can preserve some important transients, and also avoid an unpleasing pumping effect. That could be caused by a short release time. We then set the DISCRETE RATIO to 2:1. This will provide us with a decent glue effect, which is absolutely sufficient in our case – after all, we already applied some reasonable compression with the optical unit. Now that everything is set up correctly, we start to lower the DISCRETE THRESHOLD until we get a gain reduction of 3dB or 4dB (displayed on the right VU meter). Turn up DISCRETE GAIN until the volume matches with the previous level.
The Details
To finish it all off, we flip on the SIDECHAIN toggle switch that will high pass the source material at 100Hz, meaning that the very low (loud) frequencies won’t be processed. To find out more about sidechain high pass filters in compressors feel free to take a look at this article. The initially selected NICKEL transformer is fine because it sounds quite neutral – STEEL and IRON would be more colorful, and therefore better suited for individual instruments or groups rather than full mixes.
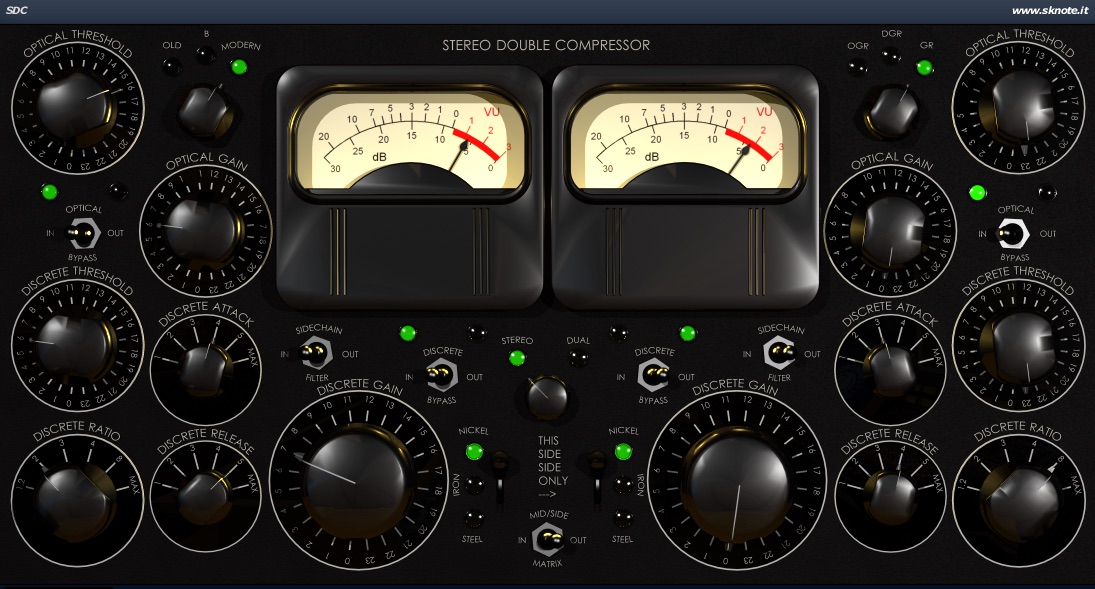
The interface of SDC should now look something like this:
The Result
All right, it’s time to listen back to our example song with SDC engaged:
The result is much more powerful than before. The increased presence of the drums is wonderful, and everything just sounds fatter!
You can download the preset for SDC here: SDC_Electro_Master.FXP